Kombucha Recipe
This recipe is scaled for an 8 cup fermentation jar, and yields three 8 oz bottles of finished kombucha. Use nonreactive containers, ideally glass or ceramic, but hard plastic is ok too. Because kombucha is acidic, it reacts with metal, which can make your finished product taste metallic or cause corrosion.
Brewing
Ingredients:
- 4 cups of water, to boil
- 1½ cups white sugar
- 6 tea bags, or 6 teaspoons of loose tea
- 2 cups water, at room temperature
Method:
- Bring the sugar and 4 cups of water to a boil, stirring as needed to dissolve the sugar.
- Remove from heat and add the tea.
- Steep according to the tea’s instructions, and then remove the tea bags.
- Add the remaining 2 cups of water. Cool to room temperature.
If you want, you can put the spent tea bags in two cups of water overnight to make some mild, cold-brew tea for your breakfast the next morning. It will be pretty sweet because of the residual sugar that comes along on the tea leaves.
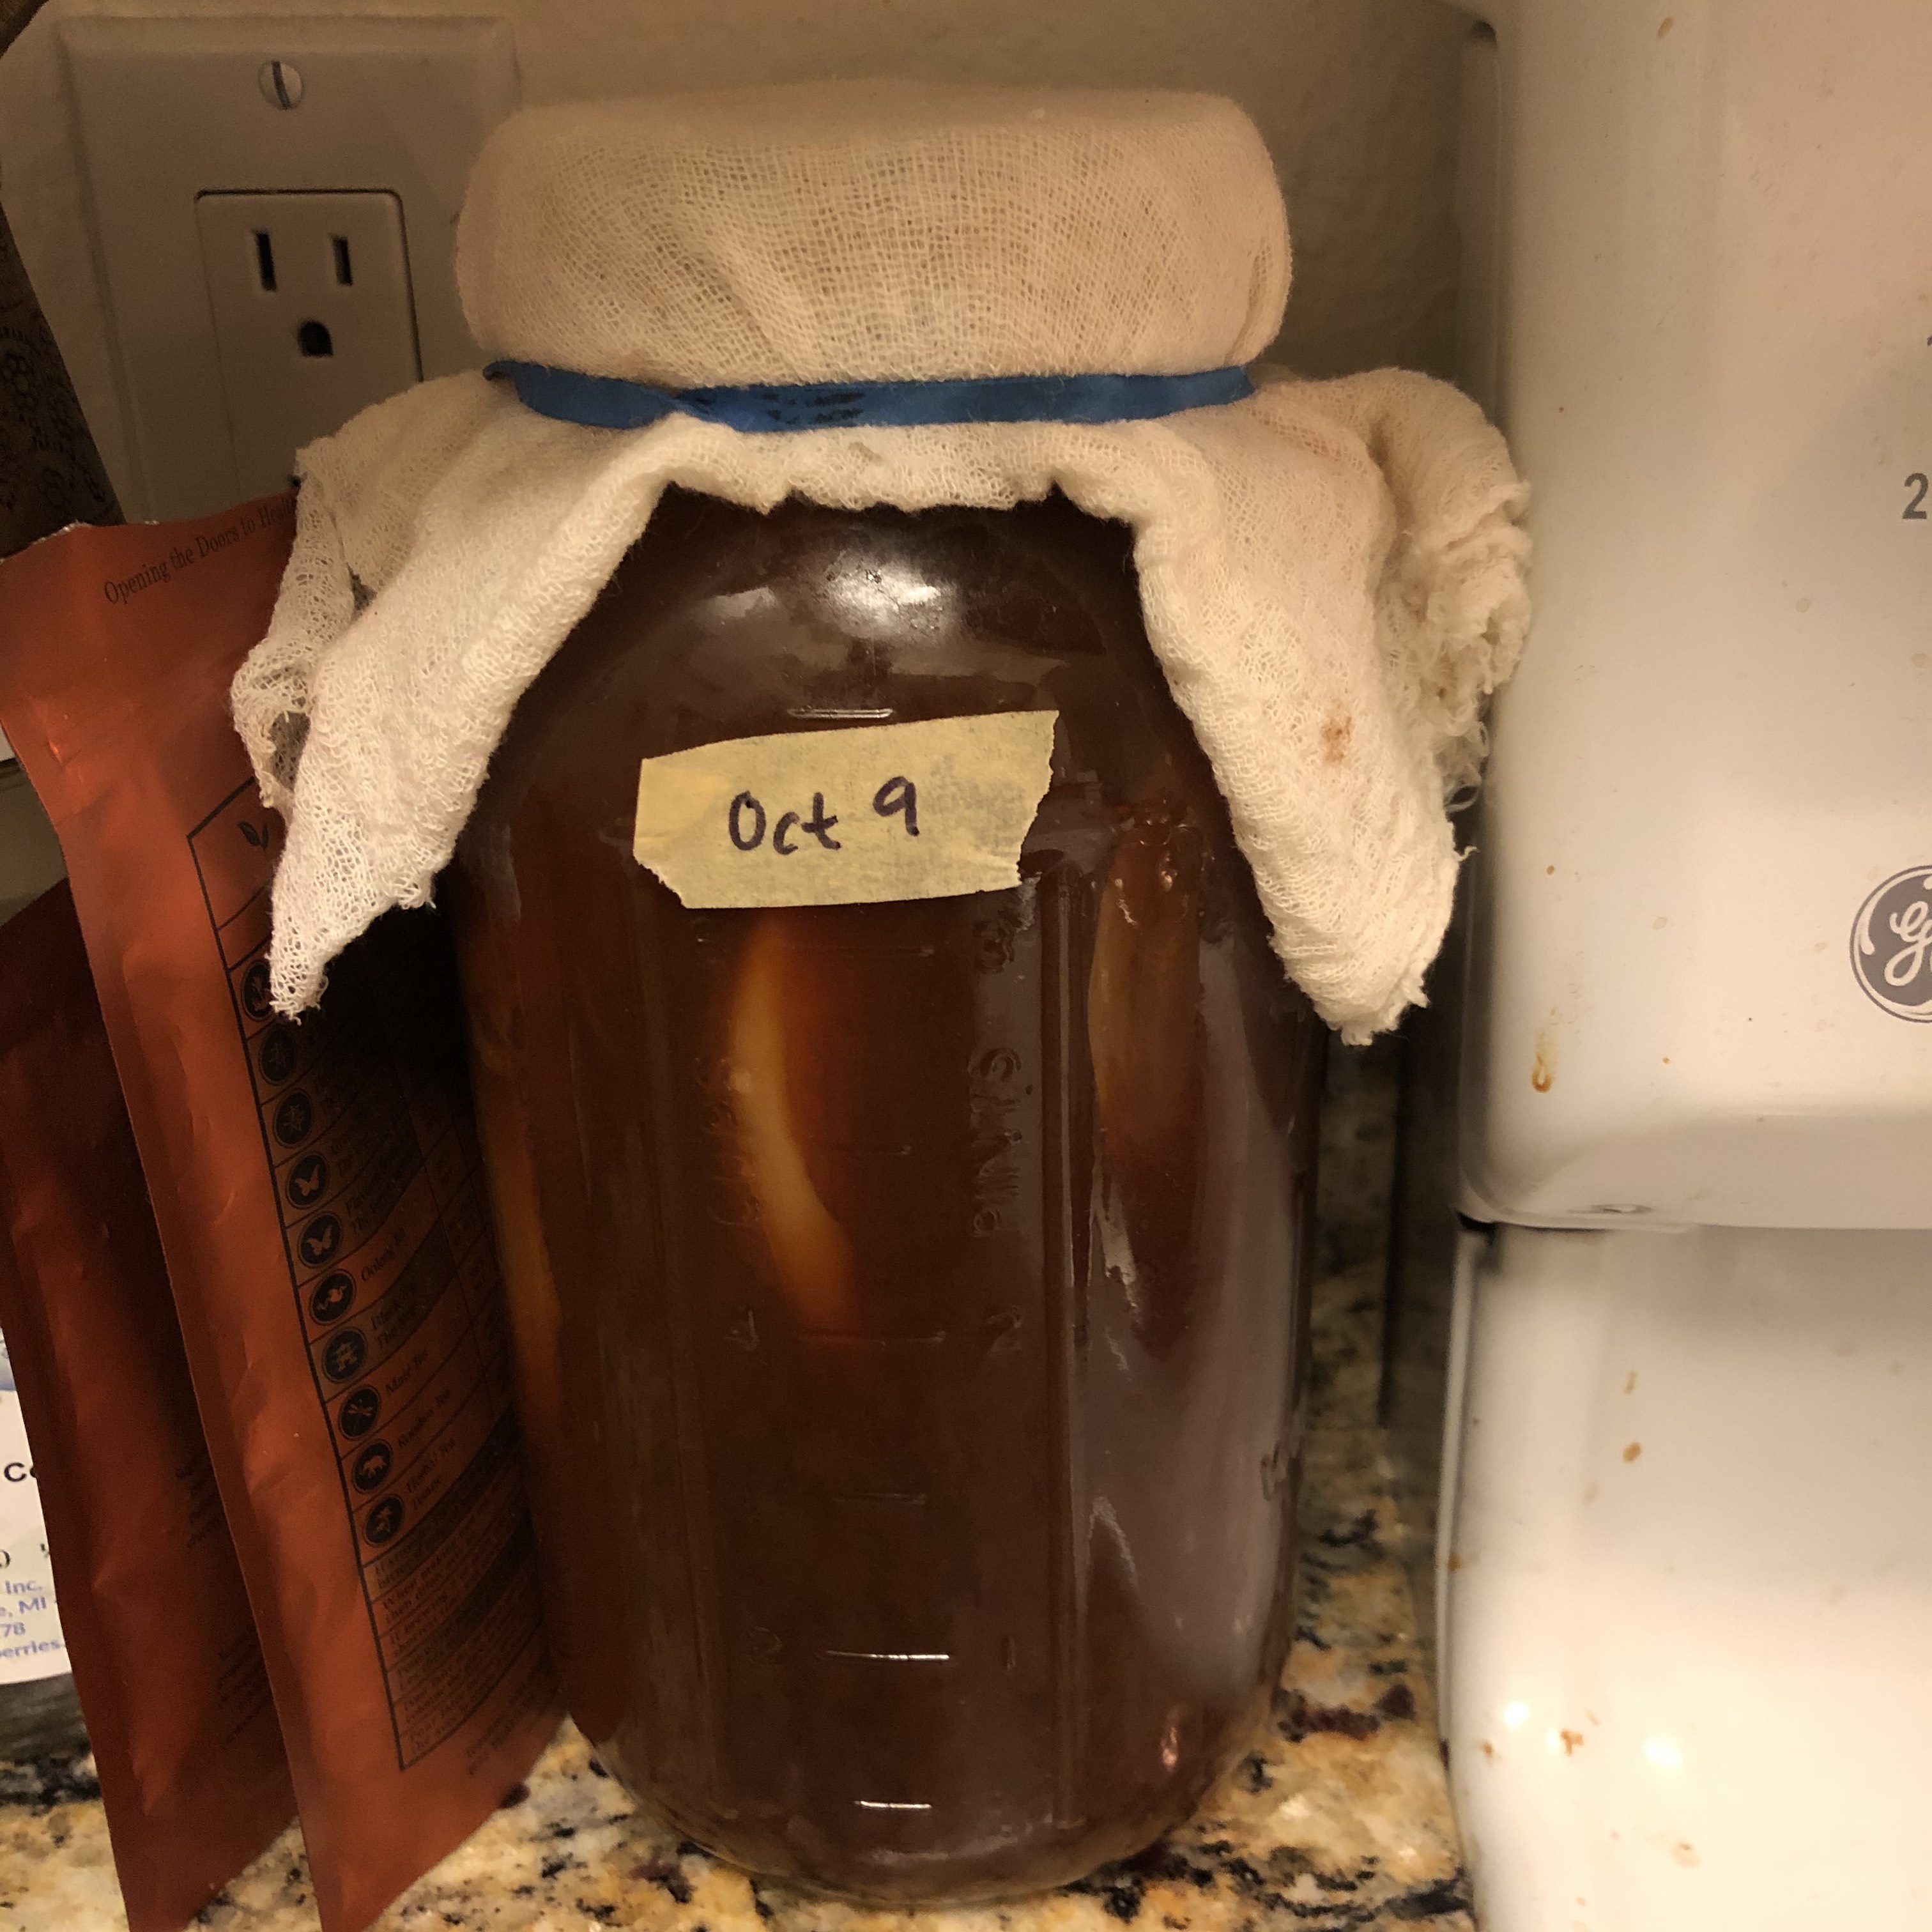
Fermentation
Combine the brewed tea mixture with 2 cups of kombucha from you previous batch, and pour into your fermentation jar. Cover the top with a cloth and rubber band, to keep out flies and dust. Do not seal. The fermentation process makes carbon dioxide gas, which you need to let escape.
Ferment for a week or two, tasting as you go. After one week, it will be slightly sweet and lightly carbonated. After two weeks, it will start to get more tart. After multiple weeks, it might get too tart to drink on its own, but I still liked it mixed 50/50 with soda water.
Bottling
Reserve two cups of the finished kombucha and the mother culture (also called a SCOBY, a mushroom, or a cap) that floats on top like a jellyfish, so you can use them to make the next batch. Because of the mother culture, you might have a little less than 2 cups of liquid in what you reserve, or a little more than 2 cups total reserved kombucha. That’s ok; this isn’t an exact science.
Pour the rest of the kombucha into your storage bottles, using a funnel with a wire mesh strainer set in it to catch any escaping bits of gelatinous mother culture. Cleaned bottles from store-bought kombucha work well for storage, as do empty pop bottles.
If you want to add flavorings like fruit or ginger, mash them up and add them while bottling. Depending on how long you fermented it, kombucha at this stage can be slightly carbonated or not carbonated at all. Adding sweet ingredients while bottling will make it continue building up carbonation, so make sure you use bottles that can handle that pressure.
Label and refrigerate the finished kombucha.
Final thoughts
Over time, the floating mother culture will grow and make a thicker layer. Eventually, it might not float anymore, and a new one will start to form at the surface. This is all part of the normal process. After a while, if there’s too much mother culture in your reserved two cups between batches, you set some culture layers aside as a spare in a glass jar with some kombucha — or better yet, give some away to a friend who wants to make kombucha. Keeping a spare mother culture gives you a recovery plan in case you ever forget to reserve enough while bottling, or in case your culture gets contaminated and goes bad.
To put your kombucha-making operation on hold, leave the reserved kombucha culture covered in a jar at room temperature. Do not refrigerate the culture, unlike sourdough or some other cultures. It will keep for at least a few months on its own, although the first batch when you resume making kombucha will be more tart than usual.